“STITCH WITH BILL – Day 2
Already day 2 – and we are working our way though the STITCHER’S TRIO Projects…. and we are 1 step closer to completing our STITCHER’S APRON…..
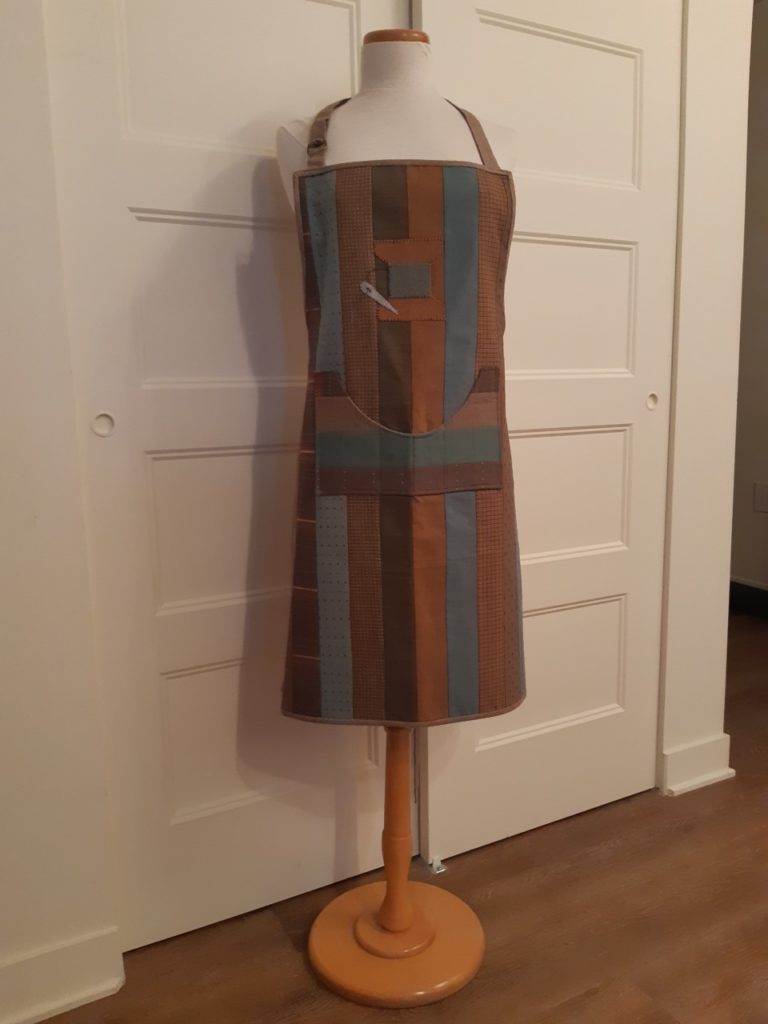
So this morning we’ve trimmed the panel – removing the extra backing fabric from both ends where we attached and secured the last 2 strips… we’ve trimmed the top and bottom of the panel where the selvedges are – and now we are ready to cut out the armhole portions of the apron.
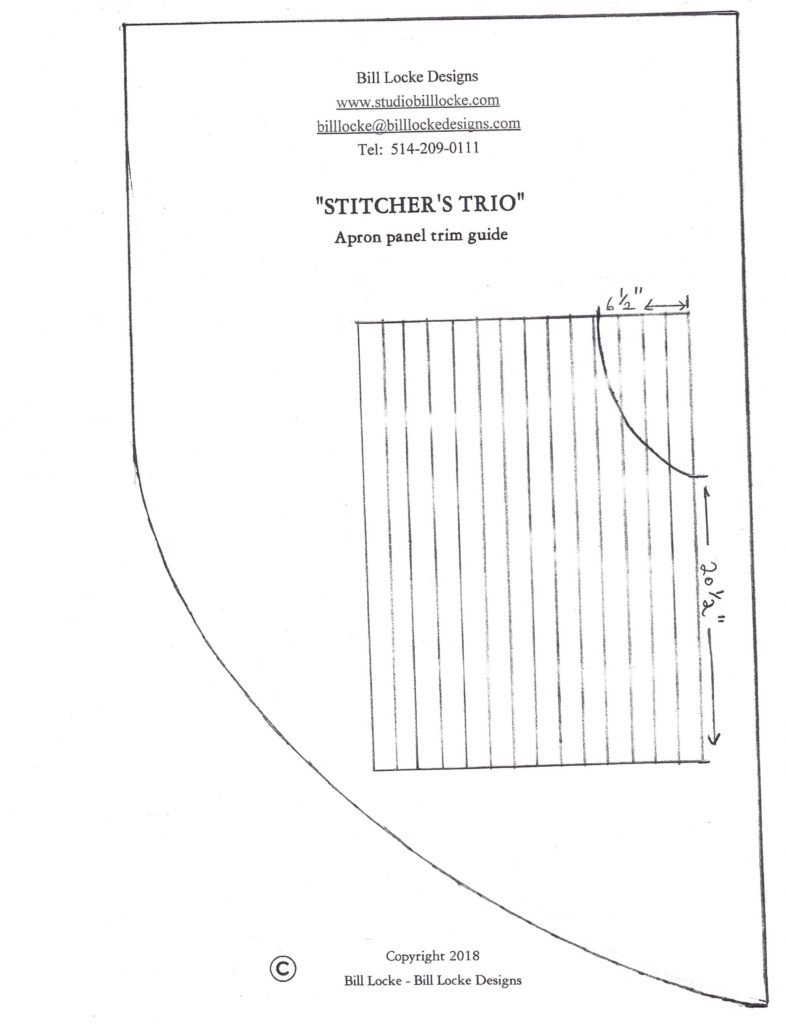
So, to make the armholes, we can use the measurements given in this morning’s video and drawing an arc freehand or using another apron as a possible template. This could work if you do not have a printer to print out the following template. If you do have a printer, you can simply print out the template. Remember to measure the template once you print – the top/shorter straight edge should measure 6-1/2″.
Once you’ve cut the 2 armholes for the apron, the next step is to make the bias binding strips (remember cutting on the diagonal – not straight across the width of your fabric). But…before cutting your binding strips, because to cut a rectangle from the 2nd one yard backing piece that measures 20″ x 34-1/2″….this is the piece that we will need for the completion of our PROJECT PORTFOLIO. Put this aside for later.
For the binding, we you’ll need to make approx. 132″ of continuous binding. cut strips 2-1/4″, joing them together to make 1 piece of binding.
For the straps we need to cut from the backing fabric, the following lengths:
Three strips 2-1/2″ x 35″
One strip 2-1/2″ x 5″
We will work with these tomorrow.
I hope that you are all enjoying your projects…..I look forward to seeing you on FB LIVE tomorrow morning at 11:00 EST.
Happy Stitching!
Bill