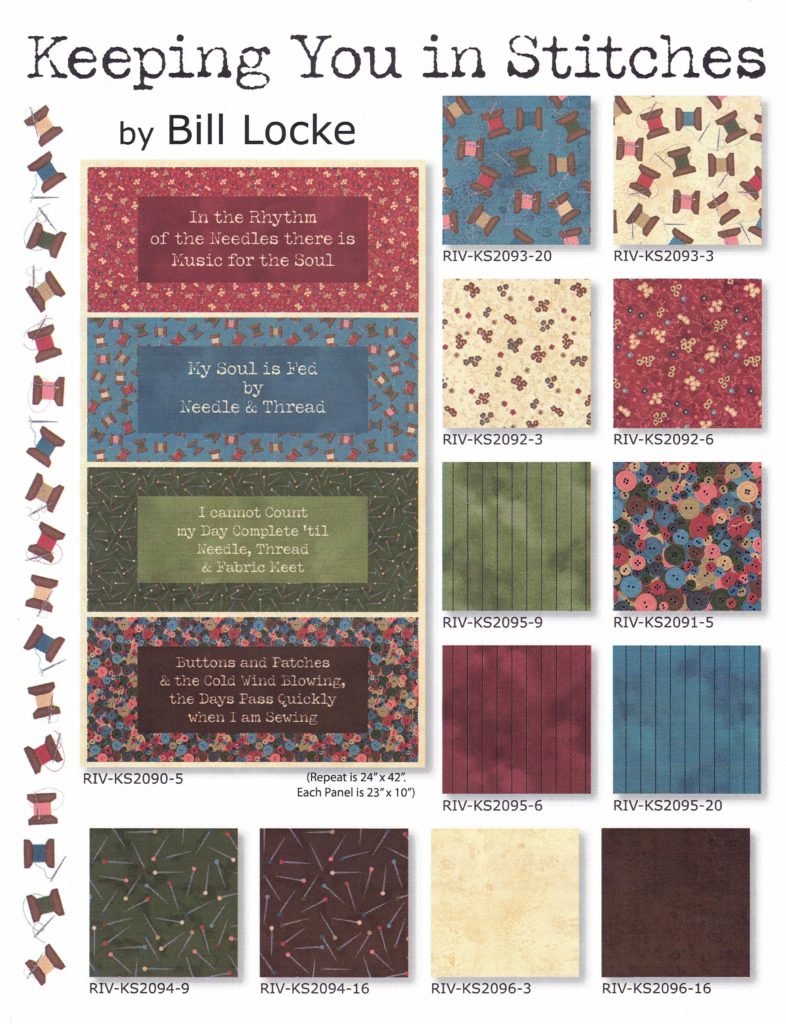
“STITCHING WITH BILL”
WOW!!!!!! I have been going to sit and write this post all day – but it’s been such a crazy, hectic day – which of course is a good thing when this is your business….but…I just had to stop for a moment since I didn’t realize how late it was I am still working…it’s 9:51 p.m. on Monday evening…..I need to touch back on today’s tutorial before tomorrow’s session.
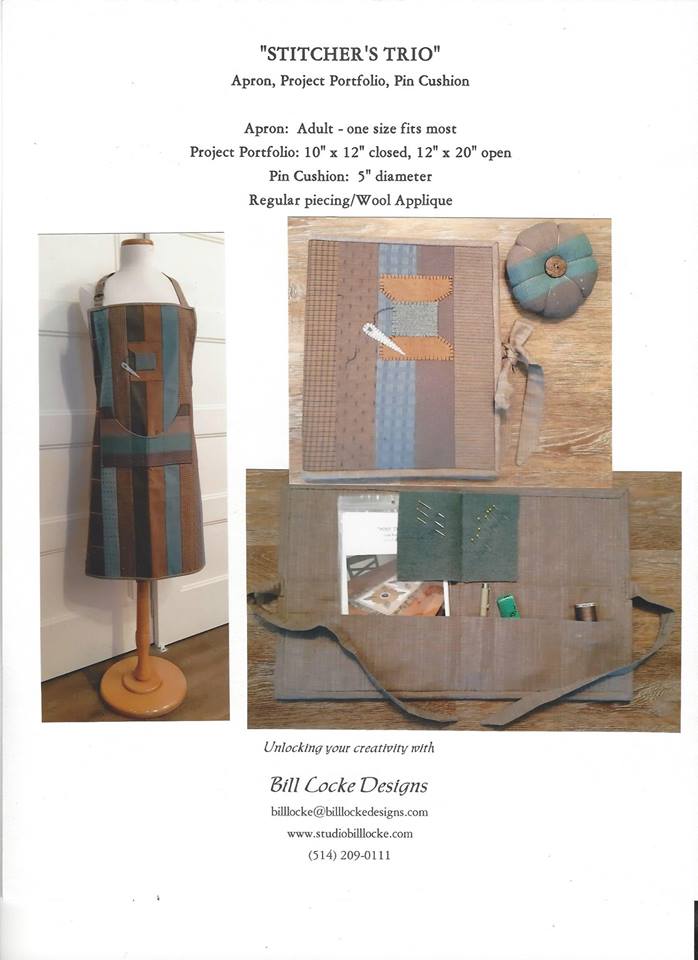
So, the FB LIVE this morning with the “STITCHER’S TRIO” Tutorial #1 was wonderful – a great attendance by so many of you – wonderful messages received after the tutorial….I am so excited to be able to share with you like this – and to have you participate in these projects with me.
I wanted to do the tutorial live for a couple of reason – but the main reason that I felt the live video was best was because of this…. so many of us are spending these days alone…many not able to see anyone – for this half hour or so this week….as we are all sharing in these projects, we are live….you are seeing me, I am seeing you all participate with your comments and message…we are a community sharing together and for that instant – we are not alone…and it remind us just that – that we all 1 big stitching family – and as the tutorial ends and you go back to your sewing room to work on your projects, think about that – and remember that well all be back together in the morning.
So, if you are seeing this post for the first time – and missed today’s tutorial…. you can still catch up by heading over to my Facebook page and checking it out. https://www.facebook.com/bill.locke.96
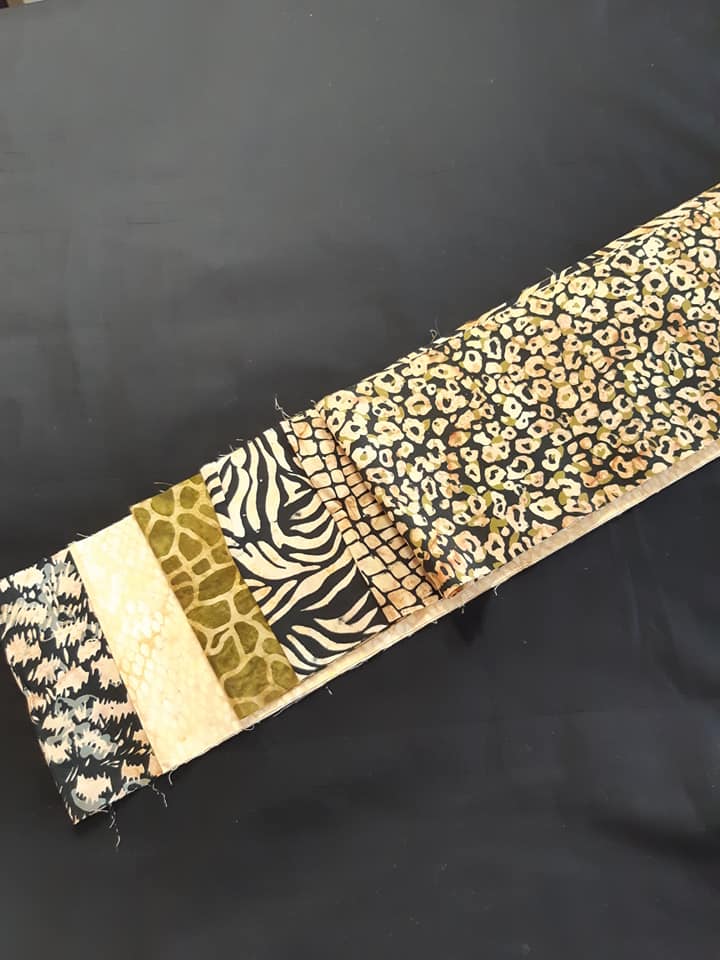
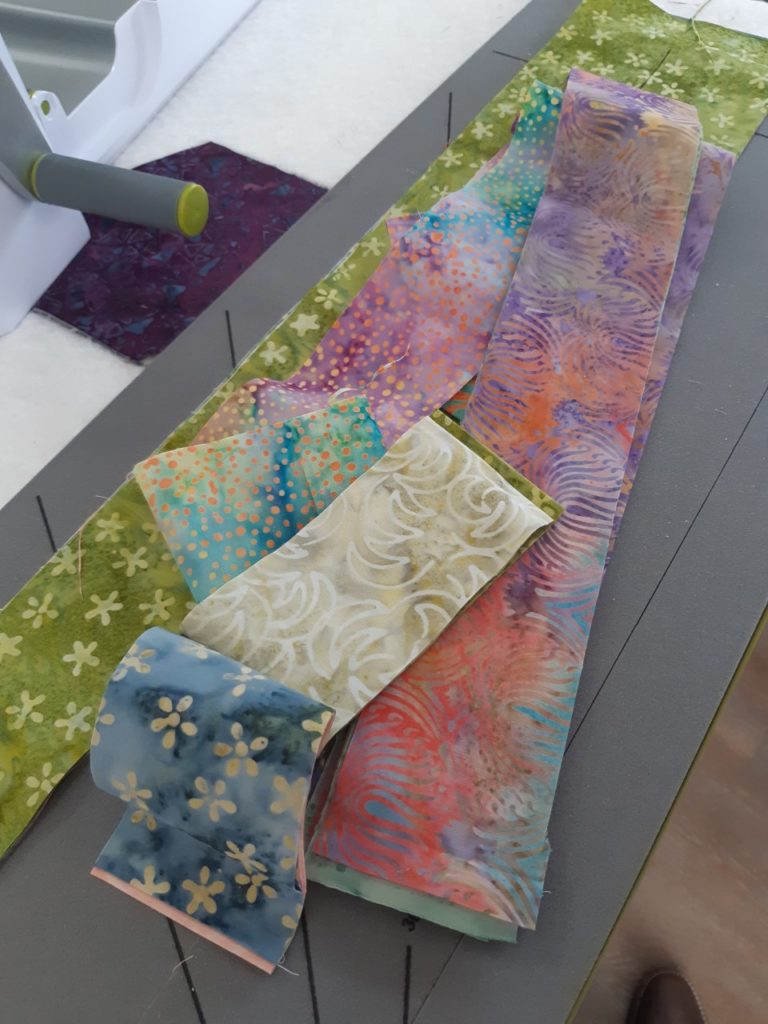
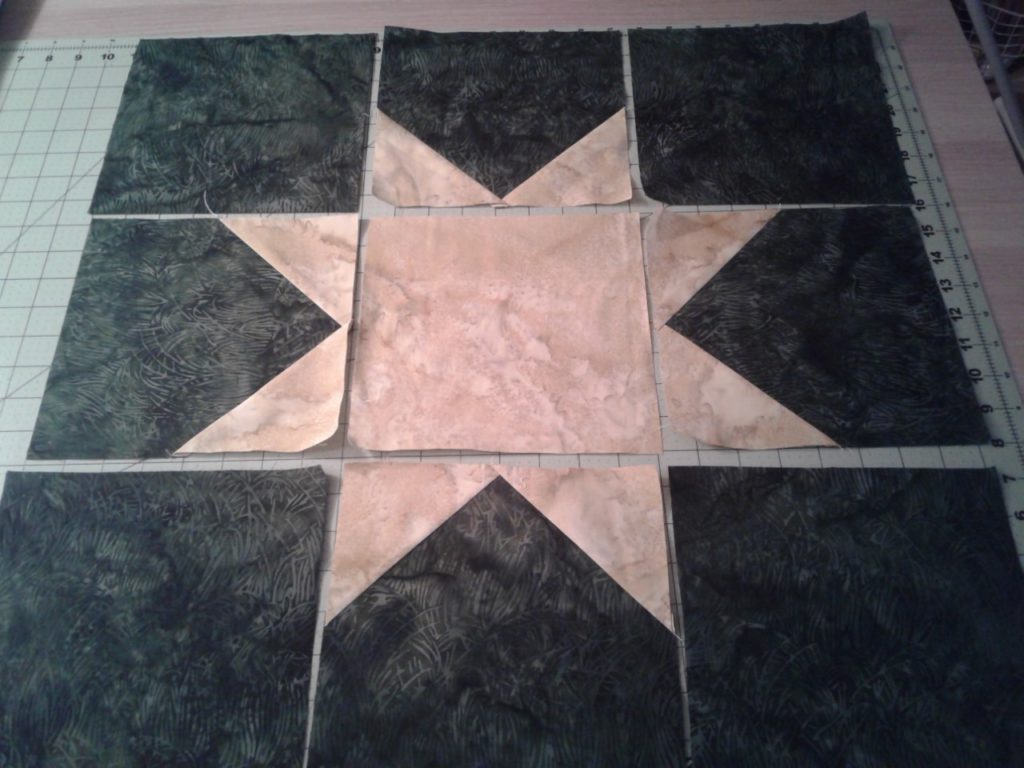
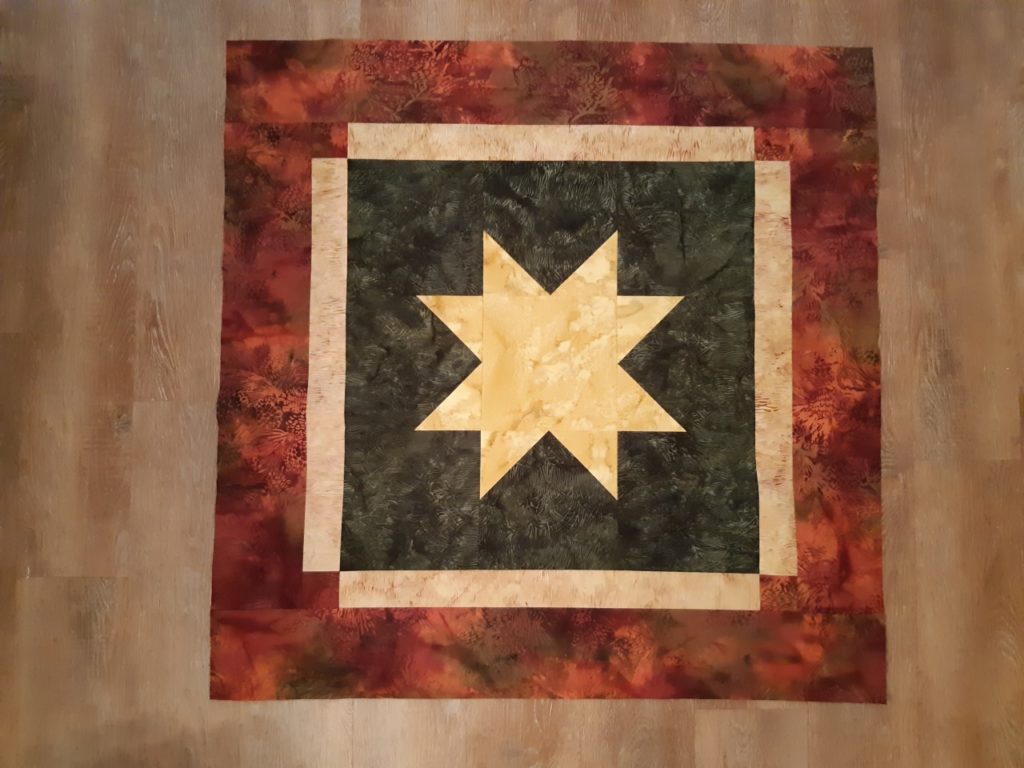
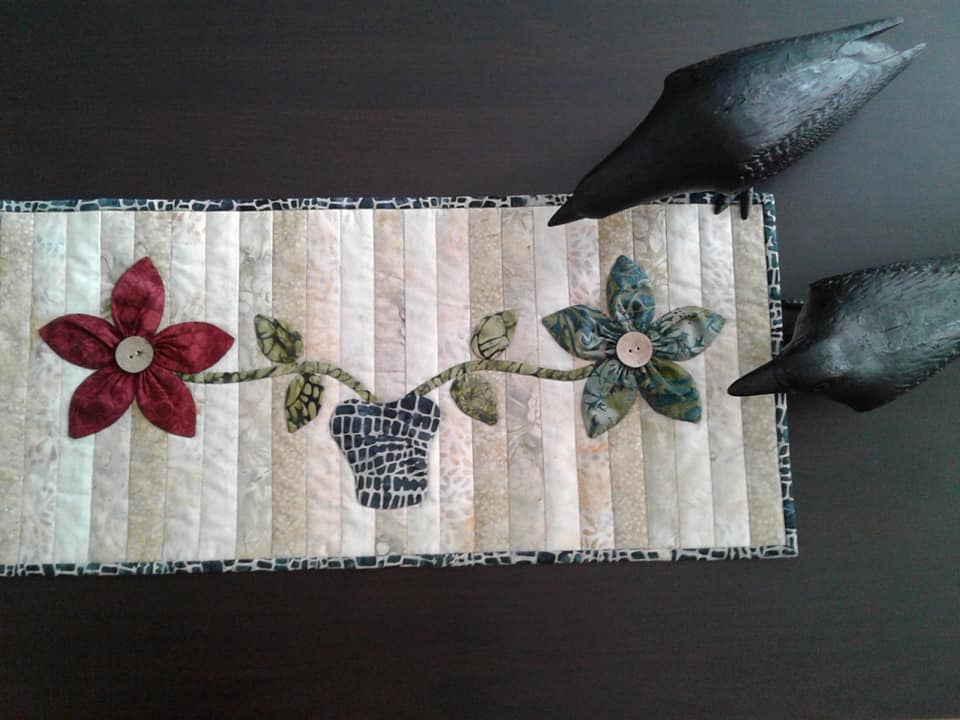
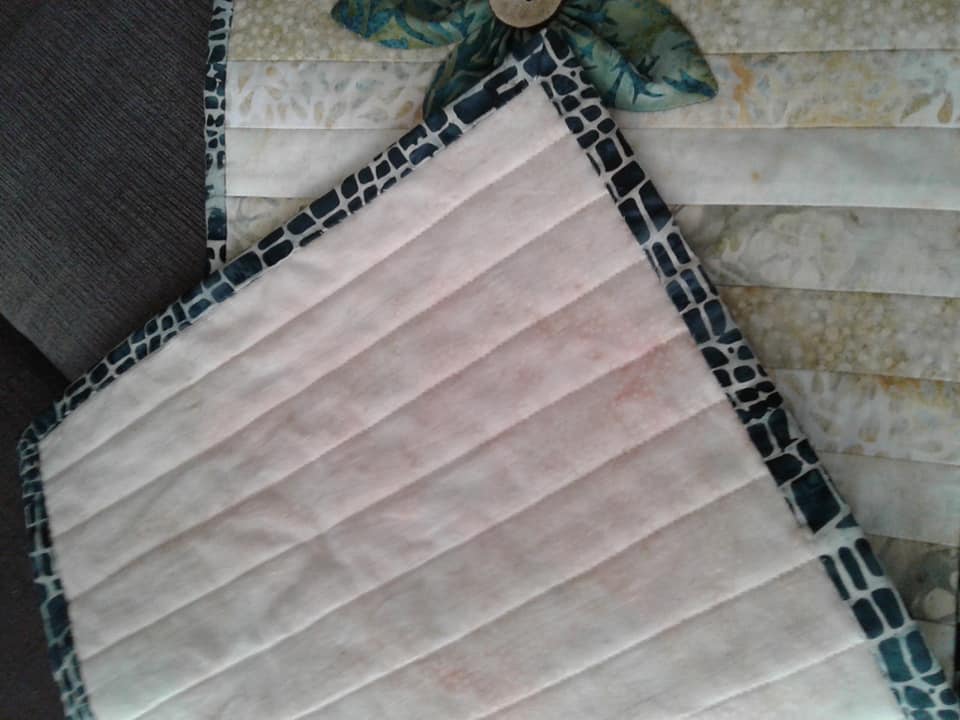
So….I hope that you’ve all had time to finish stitching your 2-1/2″ strips to your background/lining fabric.
I want to mention that once you have all 14 strips sewn down, you will have some area on both ends of the panel that will not have any of the 2-1/2″ strips.
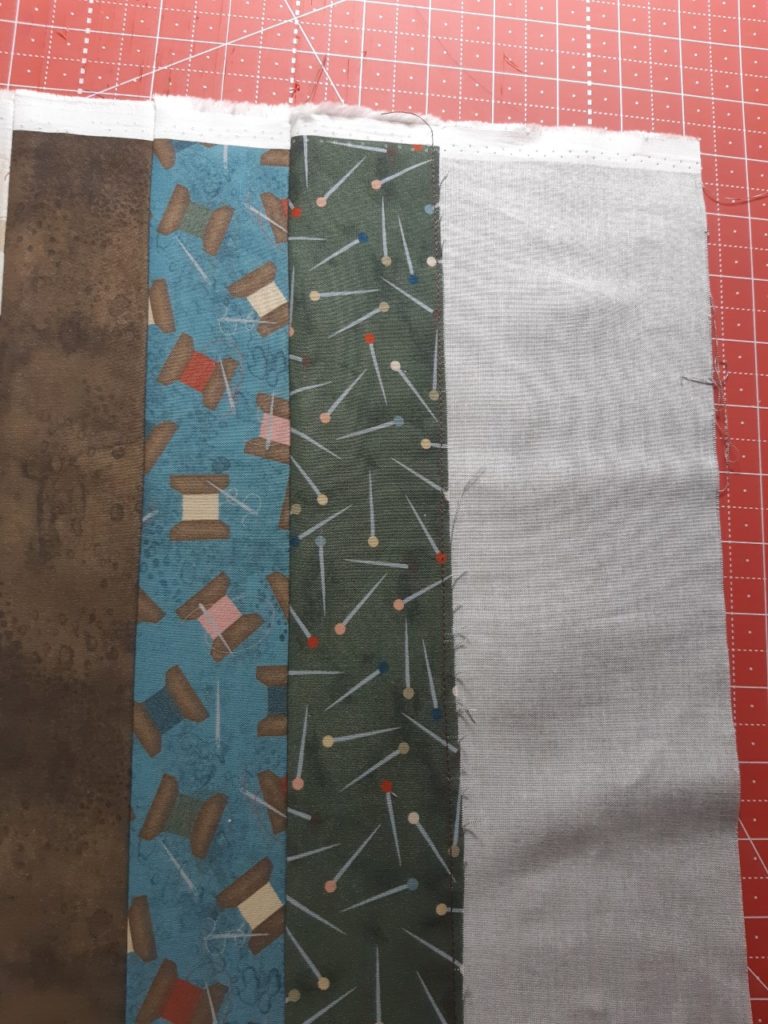
Before moving any further in the project, I want you to hold the panel as if we were an apron – with the strips running vertically, and see if the 14 strips are going to be ok for the width of your apron. The extra on each side is a safeguard so that if you feel you need another stripe or 2 to make it a bit wider, this gives us that advantage to do that now.
If you do need to add a couple of strips, now is the time to add them before you move to the next step.
NEXT STEP!
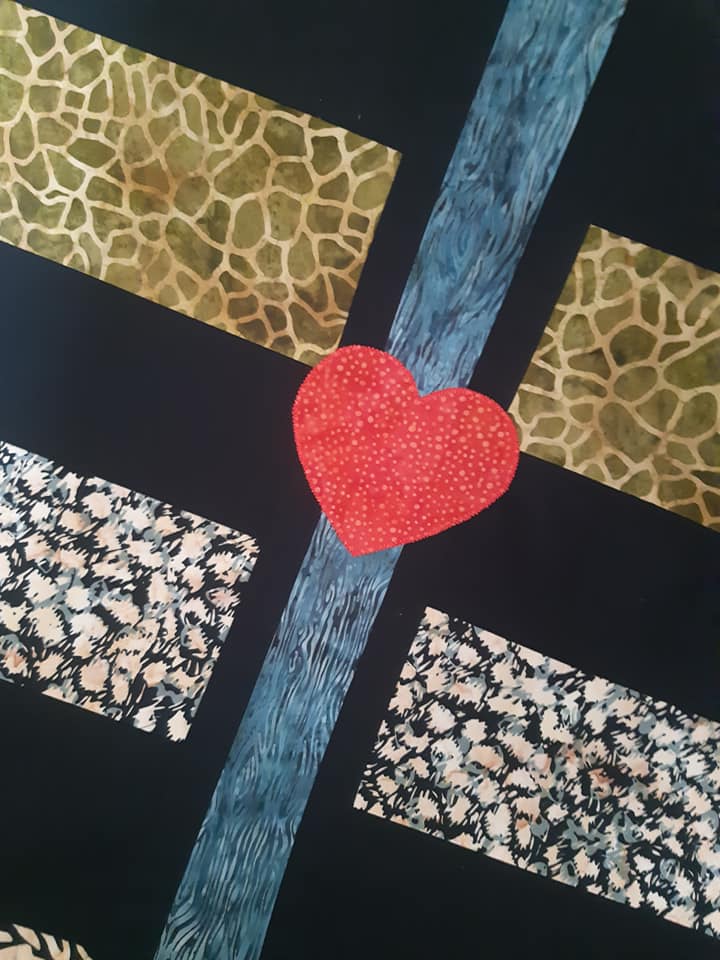
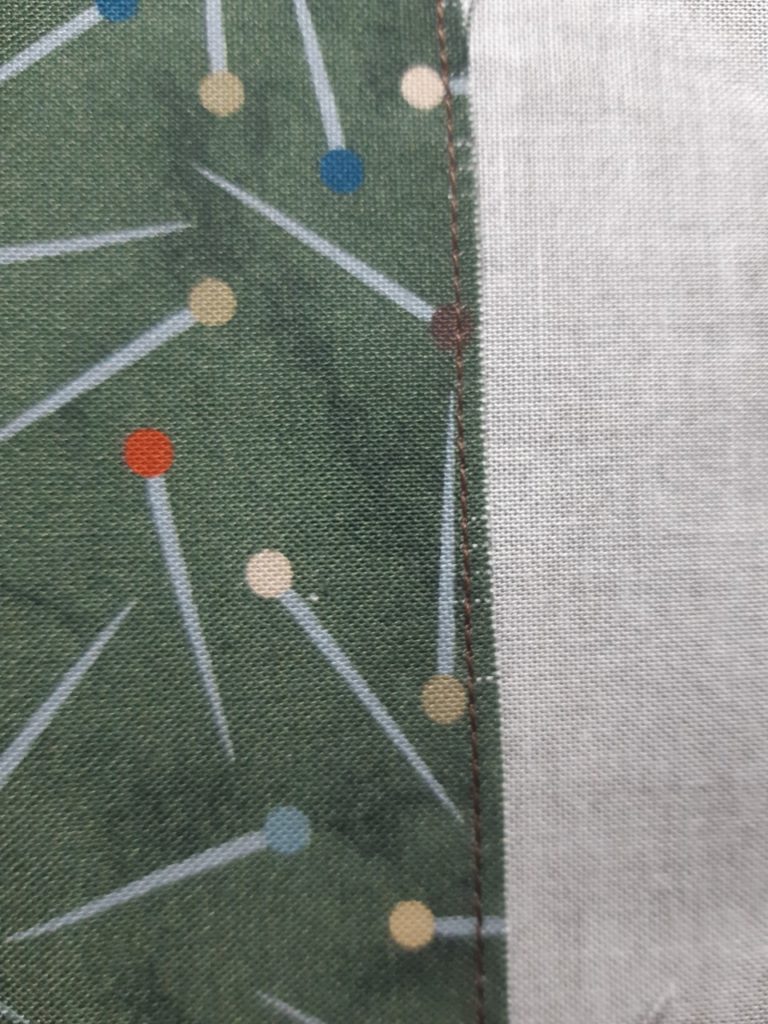
With the 2-1/2″ strips all sewn in place and pressed open, the 2 outer strips are not stitched along one end. For these 2 strips, we want to stitch along that open edge, stitching the strips to the background fabric, using a scant or even 1/8″ stitch.
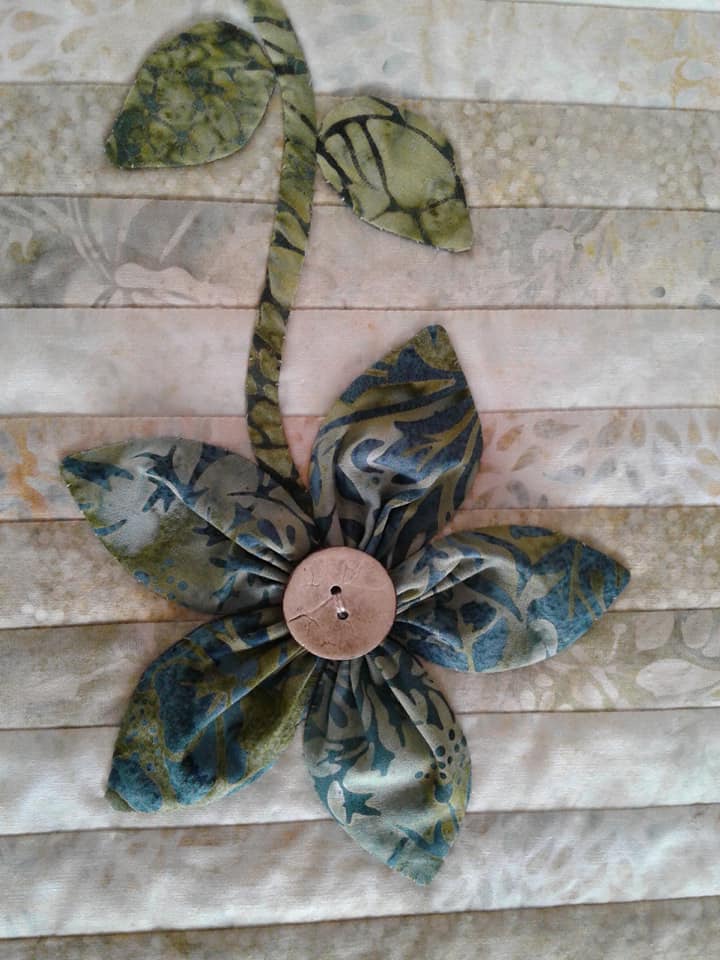
I want to give you a couple of more things to do but I think it would be best that we just leave it at this for this evening – and we can catch up again tomorrow at 11 a.m. where well continue to the next step – we are moving along quite quickly – with this panel almost complete – this is the base of all 3 projects – now it’s a matter of fun assembly – just want and see how much fun we are going to have!
Wishing you all a good night – we’ll see each other tomorrow in virtual class!
Happy Stitching!